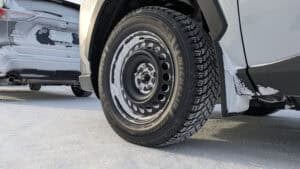
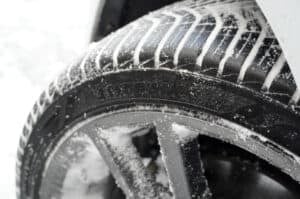
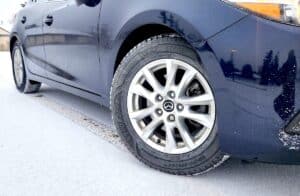
It’s safe to say that switching up those tires isn’t on most people’s priority lists. But rotating your tires is a way to equalize wear and tear over the life of your tires and is one of the simplest things car owners can do to get extra mileage out of their road rubber.
What You’ll Need Before You Start
If you can, here are the recommended tools before you get started:
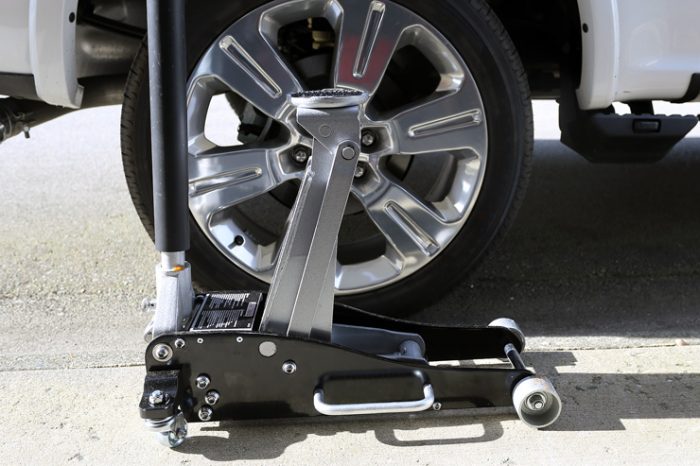
car jack (the one supplied with the car will do)
torque wrench with appropriate-sized socket
air compressor
wheel lock key (if you have wheel locking nuts)
jack stand
tire iron
wheel chocks
Let’s go:
1. Read the Owner’s Manual
This will tell you the recommended rotation pattern, which depends on the drive layout (front drive, rear drive, all-wheel drive) of your vehicle, as well as whether your vehicle employs directional tires. Directional tires are only supposed to be mounted to rotate in the direction of forward movement.
If your vehicle uses directional tires, the pattern is simple: back tires move to the front and front to the back, without crossing sides.
In many modern crossovers and trucks, the manual will also note torque specs for the lug nuts and any special lift points required for vehicles with unibody construction or air suspension. Give this a quick scan before you start. It can prevent stripped studs, damaged pinch welds, or uneven brake rotor wear once everything goes back together.
2. Find the Spare Tire

If your vehicle uses a full-size spare — in other words, it’s the same size and make of tire, mounted on wheels identical to the other four and is not marked “for temporary use only” — take it out of the trunk and place it near the rear, passenger-side wheel.
Some SUVs and trucks mount the spare underneath the vehicle on a cable system, which may take a few extra minutes to lower. Make sure the spare is in decent shape before you rely on it — a forgotten spare can be cracked, underinflated, or even dry-rotted, especially on older vehicles. Spending an extra moment to inspect it can save you a headache later.
3. Check All Wheels for Tire Pressure
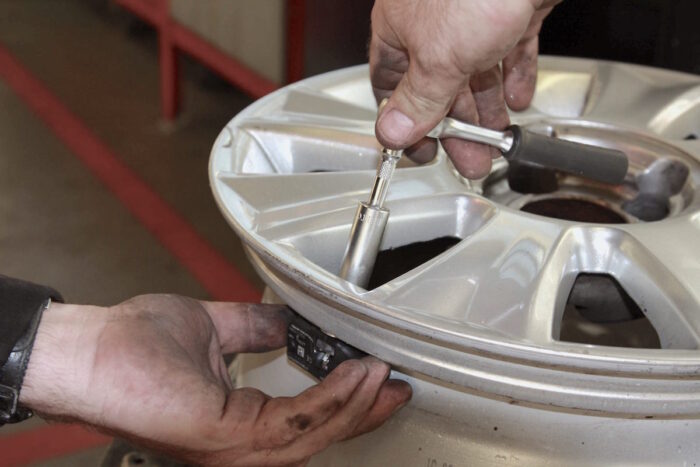
Check all wheels for tire pressure, including the spare. Top up or deflate slightly any that are off-spec. (The correct pressures are listed in the manual and on a placard on the driver’s side door jamb.)
Tire pressures naturally fluctuate with temperature, so even if you checked them recently, a cold morning or warm garage can shift readings a few PSI. Keeping everything consistent now ensures you won’t be chasing vibrations, TPMS warnings, or uneven wear after the rotation. A quick visual inspection for nails, cracks, or bulges while you’re down there is also worth doing.
Related – How Do Tire Pressure Sensors Work & Are They Even Reliable?
4. Chock the Other Wheels and Apply the Parking Brake.
Loosen the rear passenger lug nuts but do not remove. Using the car’s jack and recommended jacking points (again, in the manual), lift the car at the rear passenger wheel until it’s off the ground. Completely remove the lug nuts and take off the wheel. Replace it with the spare tire. (See below for reinstallation instructions.)
If your vehicle does not use directional tires, move the rear tires to the opposite side at the front and the front tires to the opposite side at the rear.
Take your time with this step. A stable lifting setup is everything. If you have a portable rubber wheel chock, use it; if not, even a sturdy block of wood is better than nothing. Avoid working on an incline and make sure the jack is on solid ground. A shaky jack or shifting vehicle is the biggest risk in an otherwise straightforward DIY job.
5. Got a Full-Size Spare?
If your vehicle employs a full-size spare, replace the wheel just removed with the spare. Move the removed wheel to near its recommended rotation partner (see below). If your vehicle uses a temporary spare, place a jack stand in the recommended location at the passenger rear wheel and lower the vehicle onto the stand.
Using a jack stand is more than just a safety precaution — it frees up the jack so you can move more efficiently around the vehicle. If you’re rotating four or five wheels, that adds up. A quick tip: place each removed wheel flat under the car as a backup safety measure while you work. It’s an old mechanic’s trick and one that’s saved more than a few fenders.
Related – Review: MotoMaster Quick Lift Aluminum & Steel 3-Ton Garage Jack
6. Rinse and Repeat
Move to the removed wheel’s partner and repeat the process to loosen, jack and remove that wheel. Continue following the rotation pattern until you’re ready to replace the rear passenger wheel that you started with. If your full-size spare is already in that location, place the last tire in whatever location holds the spare tire in your vehicle.
As you reinstall each wheel, thread the lug nuts by hand first to avoid cross-threading, then snug them in a crisscross pattern. Once the vehicle is back on the ground, torque each lug nut to the manufacturer’s spec — this prevents warped rotors and ensures each wheel is safely seated. After a short drive, recheck torque just to be safe.
Reinstalling Wheels

- Place the wheel on the wheel bolts and double-check it’s facing the right way, and if directional, the rotation direction is to the front of the car (clockwise on right-side wheels, counterclockwise on the left). Replace the lug nuts and snug them by hand. Lower the tire to the ground.
- Now, starting with any particular lug nut, tighten that nut and then make the last tighten with a torque wrench to the recommended torque. (Torque specifications change from vehicle to vehicle and in this case, an internet search engine is your friend.)
- Next, move to a lug nut opposite the first and tighten it. In the case of a four-bolt pattern, move to the nut at the opposite corner. If a five-bolt pattern, move to a nut two away from the first, in either direction. Repeat crossing over until all nuts are tight.
- The next day, re-torque the nuts again. Metal relaxes after the first tighten and can leave nuts loose.
Tire Rotation Pattern
If your vehicle uses directional tires, the pattern is simple: back tires move to the front and front to the back, without crossing sides.
If your vehicle uses different sizes on the front and rear, there’s also a good chance it uses directional tires. In this case, you need a shop, as the tires need to be dismounted and remounted on their corresponding partner’s wheel. (Front right goes to front left, rear right goes to rear left.)
There’s a chance you have different sizes front and back but not directional tires. This staggered placement means you can swap rears and fronts side-to-side without dismounting and remounting.

If your vehicle does not use directional tires, move the rear tires to the opposite side at the front and the front tires to the opposite side at the rear.
If your vehicle uses a full-size spare — meaning it’s the same size and mounted on a wheel identical to the others — put the spare on the right passenger side and put the front driver’s side wheel in the spare-tire location.